Tools you will need:
- Spirit level
- Tape measure
- Post hole digger or long handled shovel
- Shovel
- Measuring jug
- Hose or bucket
- Wheelbarrow
- Rod for tamping
Carefully read the instructions for installation provided by your clothesline manufacturer and follow these simple steps to use Cement Australia Rapid Set, Concrete Mix or Extra Strength Concrete Mix to install your new clothesline.
Click to play video
Tools you will need:
Materials you will need:
Although you can use any product from the Cement Australia concrete range, we recommend Cement Australia's Rapid Set.
For increased strength & durability we recommend using Cement Australia Extra Strength.
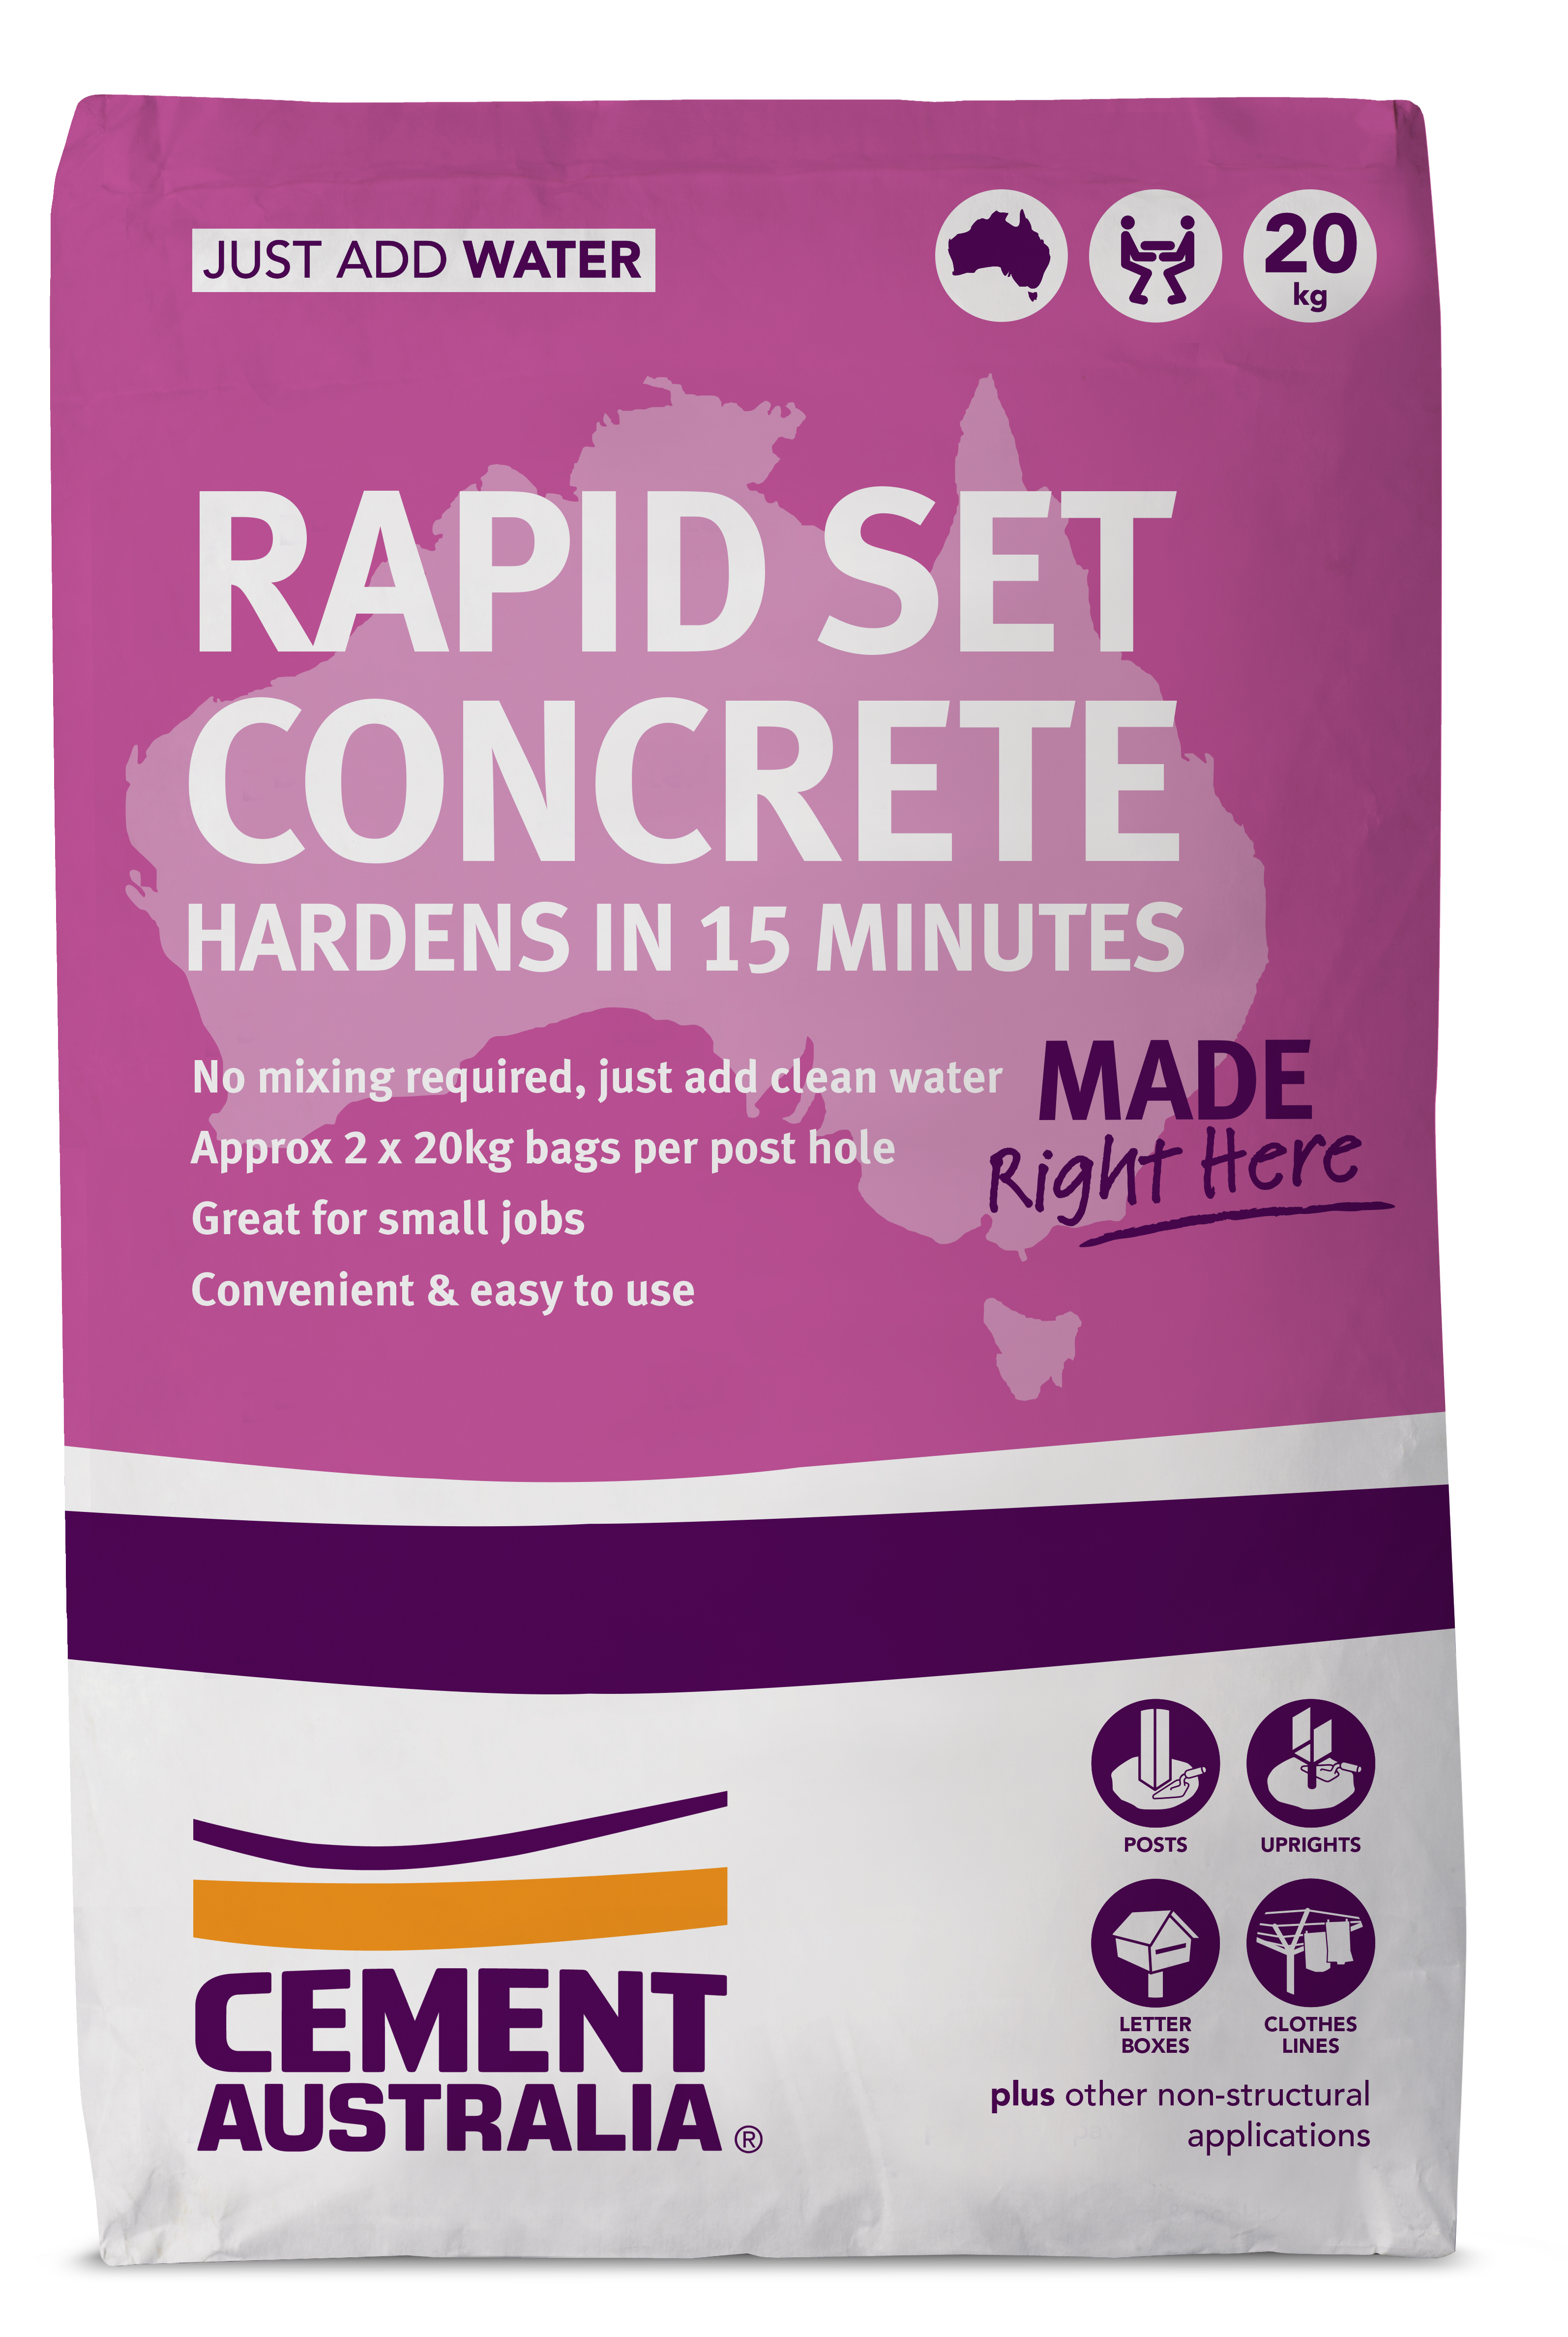
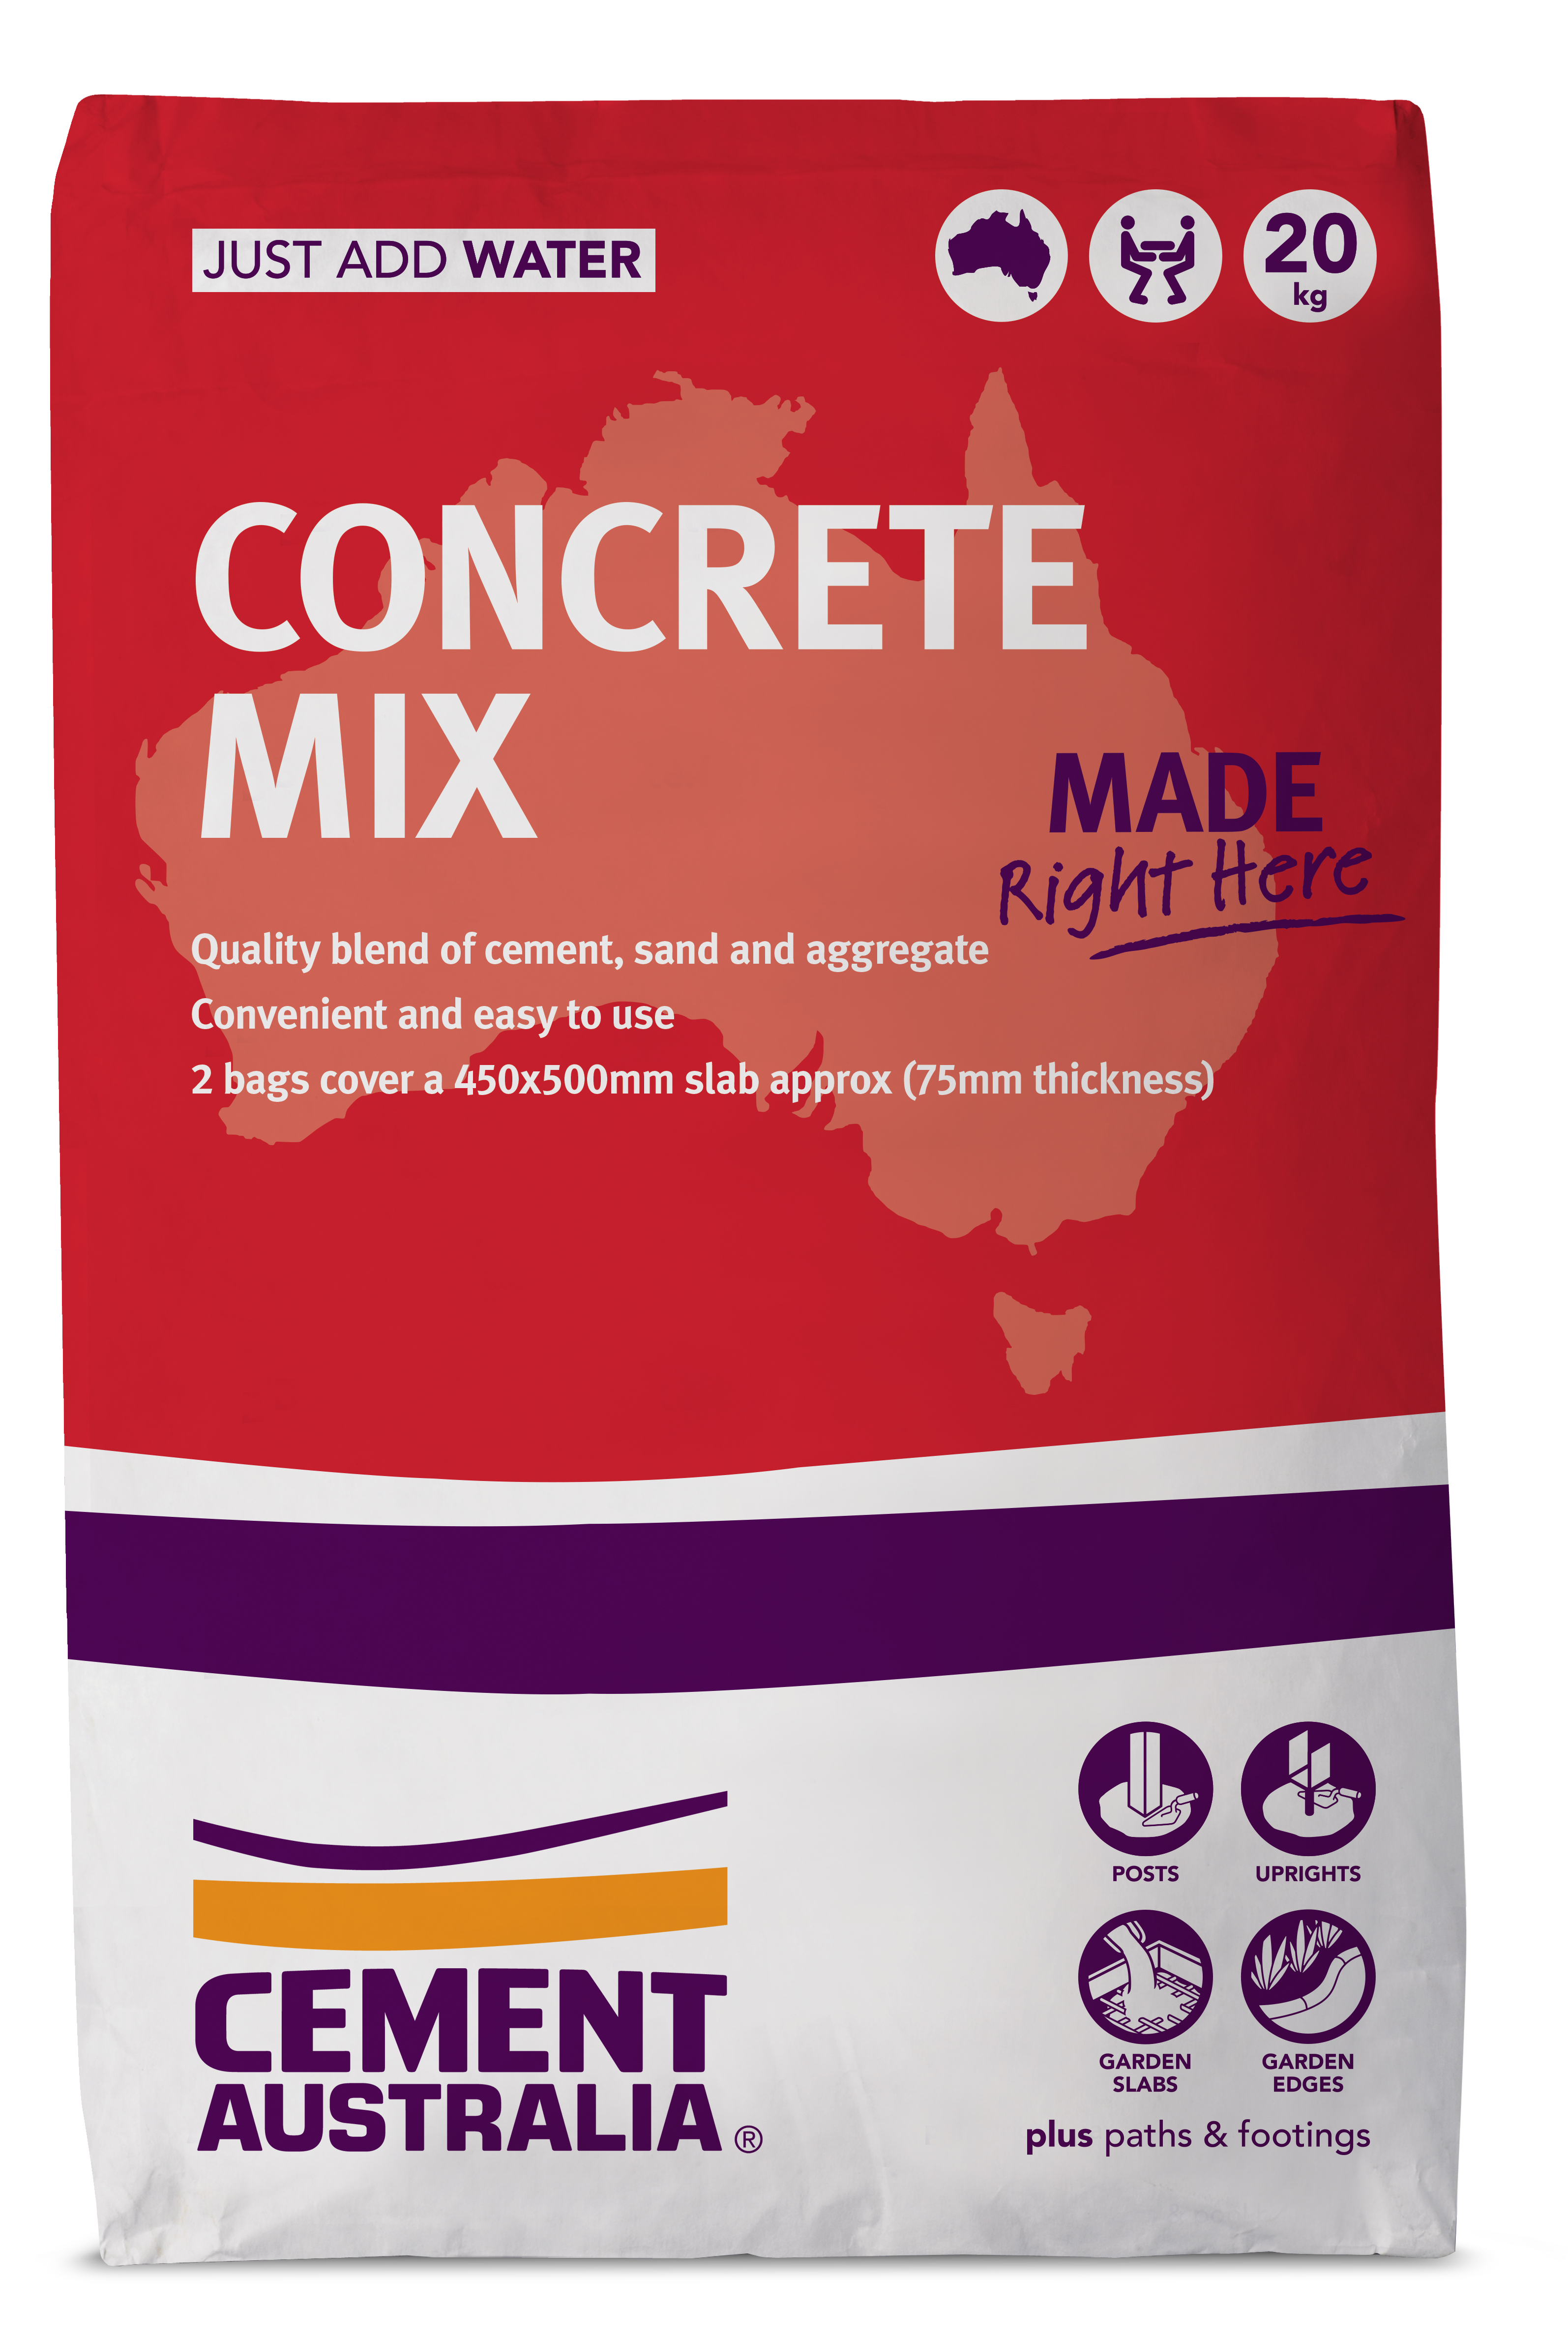
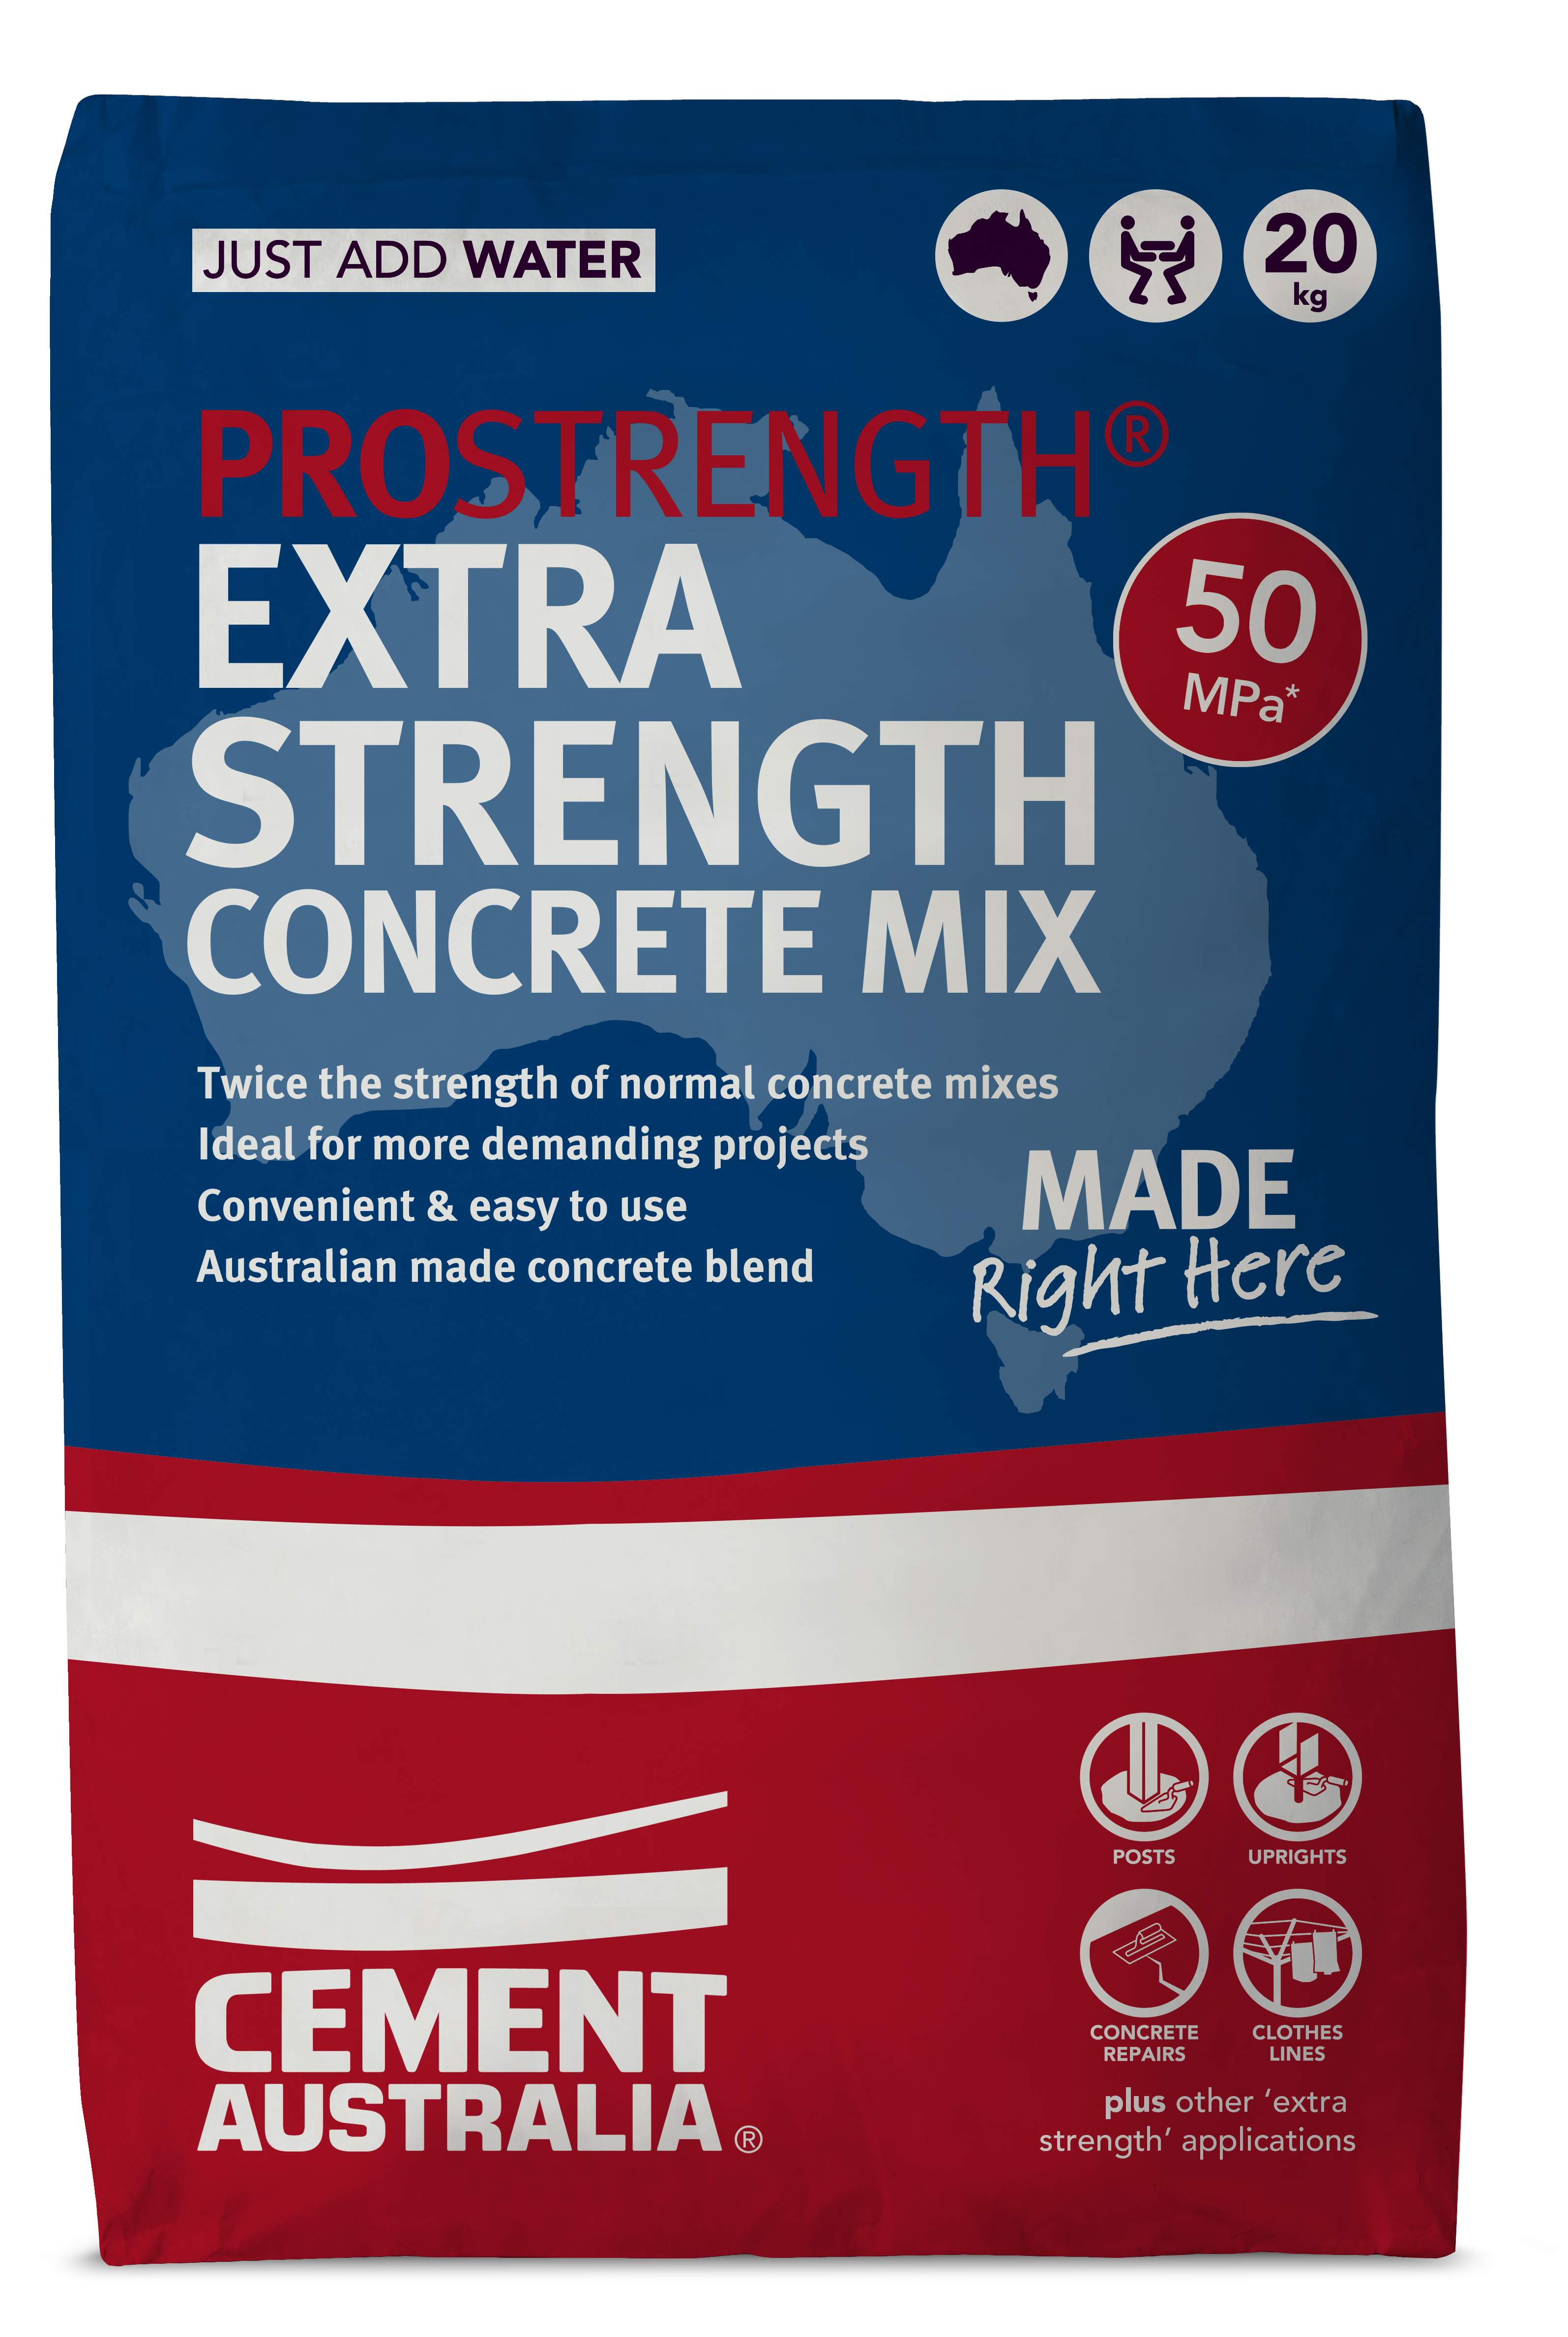
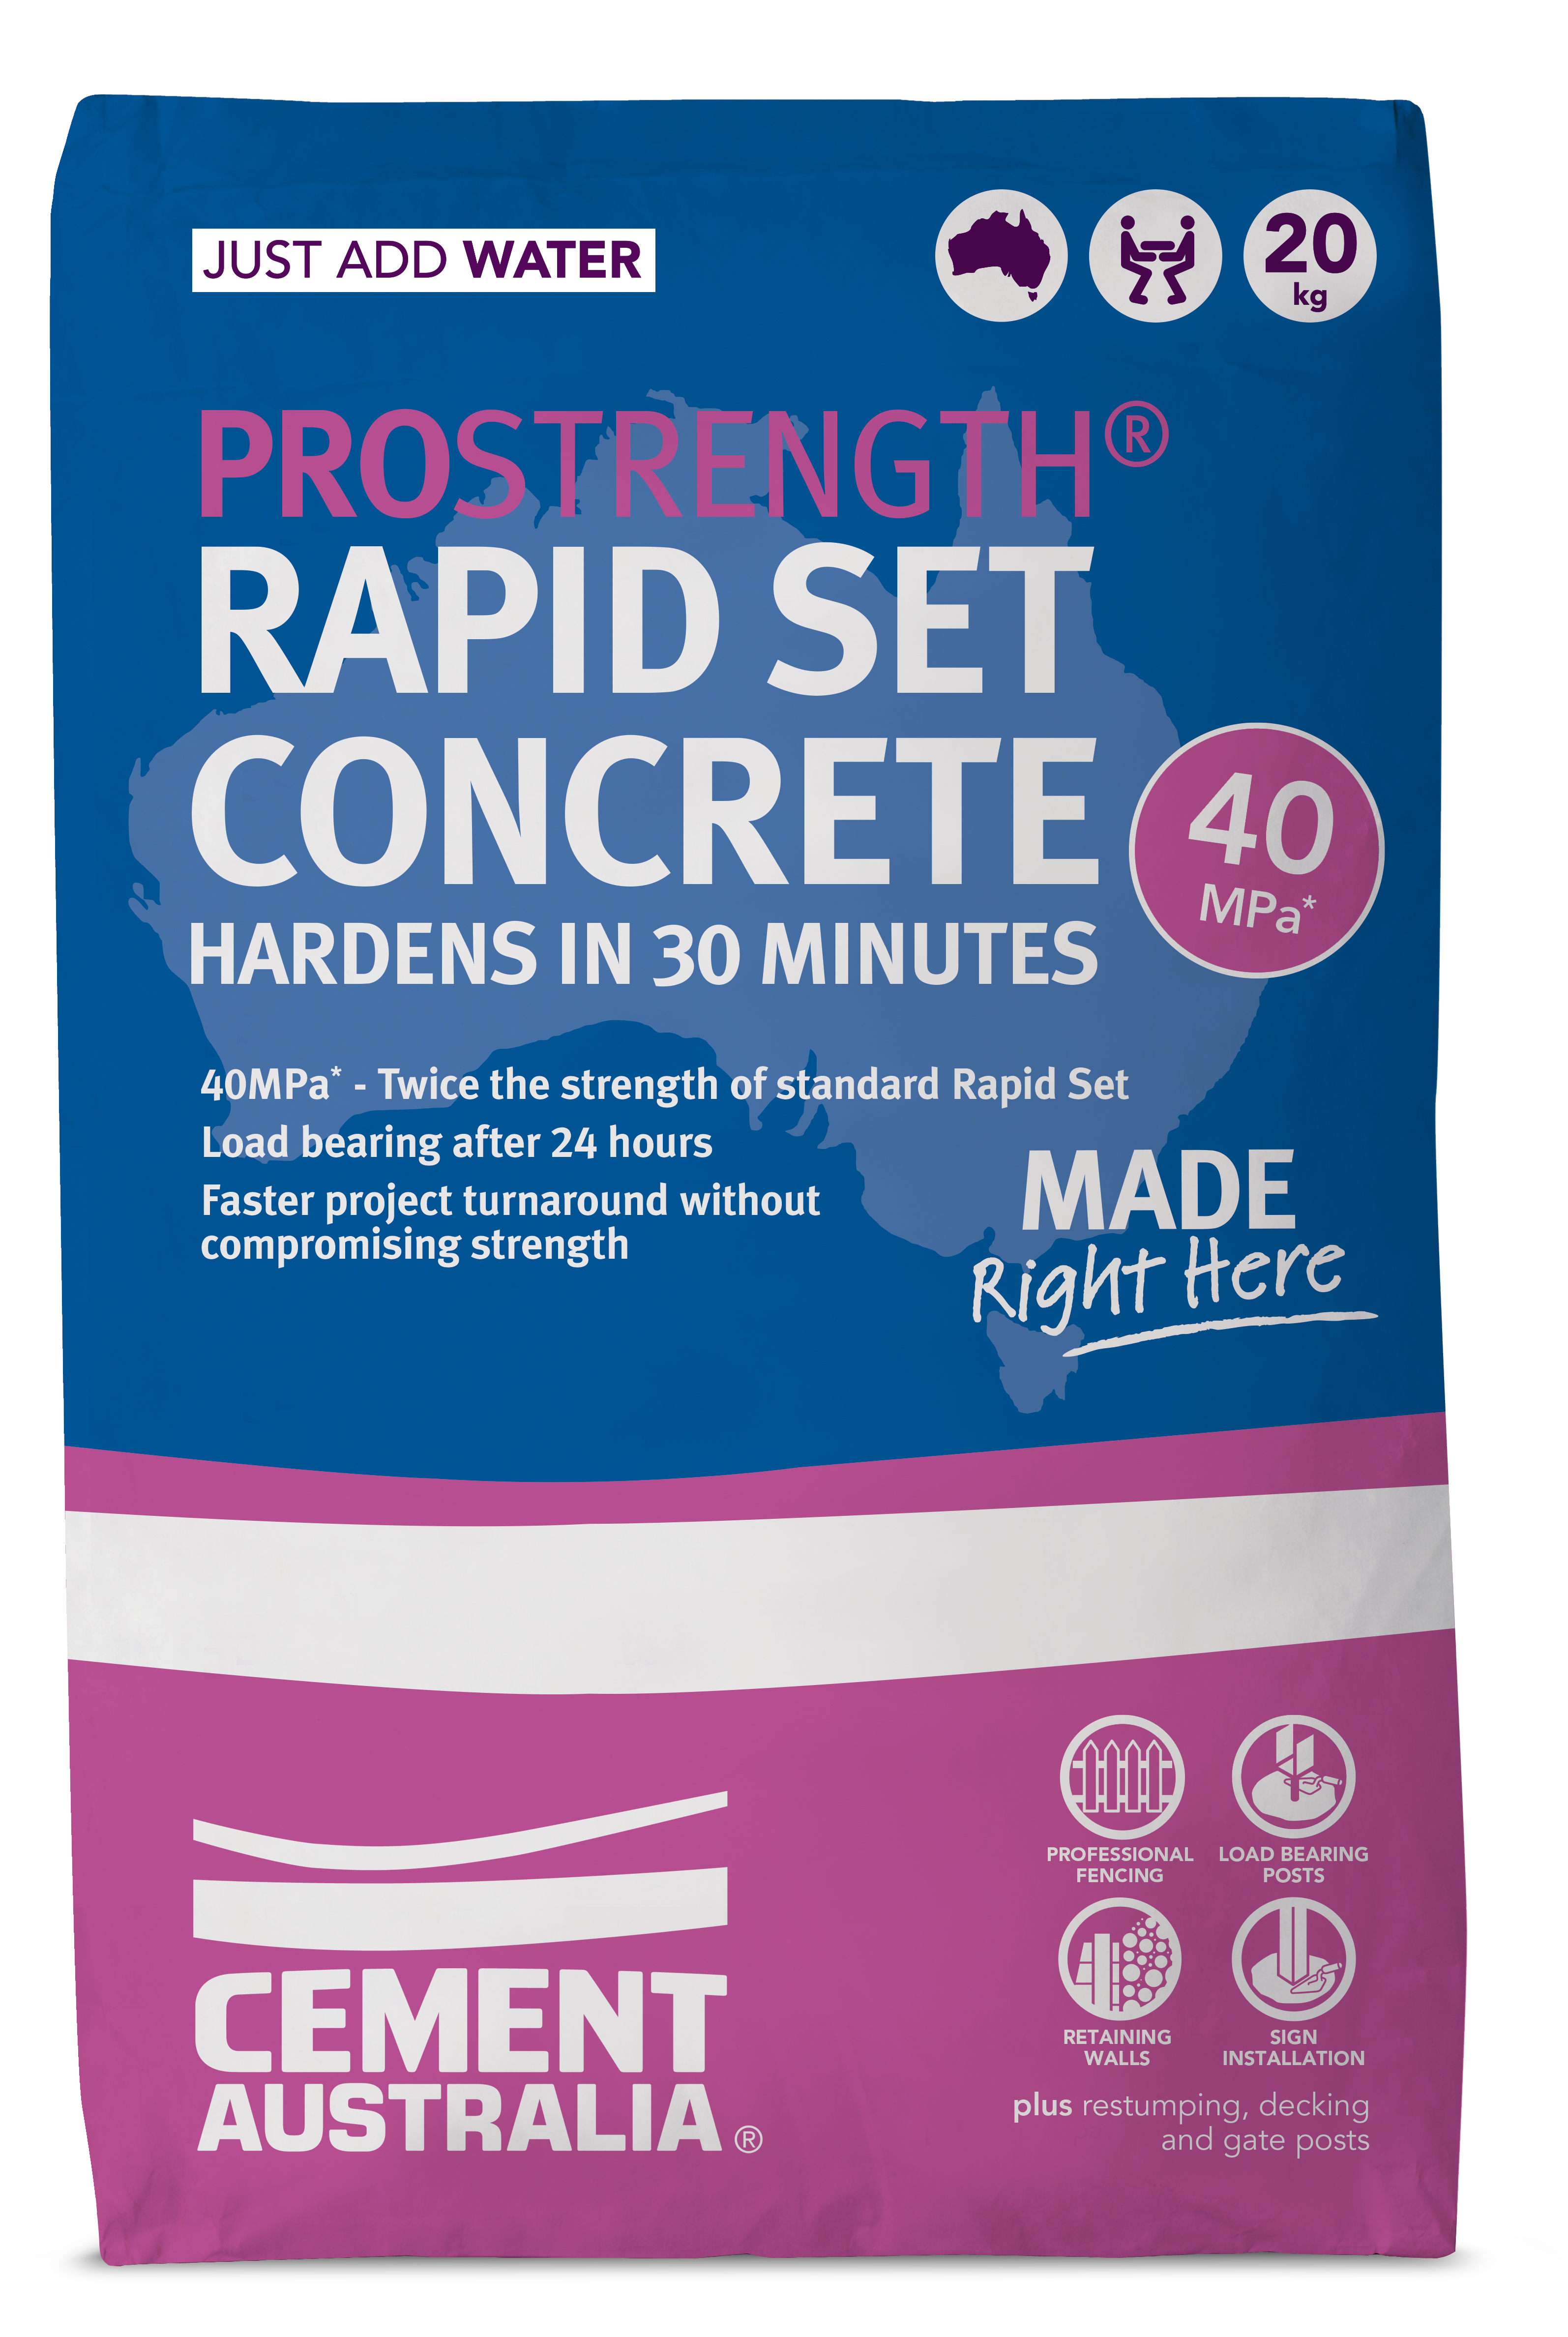
Made right here in Australia, Cement Australia's PROSTRENGTH® Rapid Set Concrete is designed to harden rapidly and deliver 40MPa* - twice the strength of a standard rapid set mix . Ideal for those more demanding jobs where higher strength is specified. Suitable for professional fencing, gates, commercial signs, retaining walls, sporting equipment installations and general building site and home projects.
Before you begin any project, please ensure you protect yourself with the following:

Consult the installation instructions from your Clothesline manufacturer to position your hole and decide the required depth and diameter of hole. This will vary based on the size and span of your clothesline.
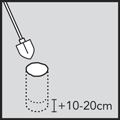
Use a post hole digger or long handled shovel to dig your hole adding 10-20cm depth to allow for gravel to be placed under the post for drainage.
Refer to our simple calculator to work out how much packaged product you will need.
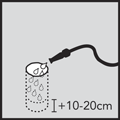
Pre-soak the hole thoroughly with clean water and allow the water to drain into the soil.
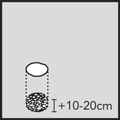
Place 10-20cm of gravel in the hole for drainage.
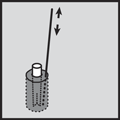
Position your ground socket in the centre of the hole pushing it into the gravel slightly, ensuring that it is set to the correct depth based on the installation instructions from your Clothesline manufacturer.
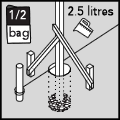
Accurately measure 2.5 litres of clean water per 20kg bag and add the water to the hole. Immediately pour in half the bag of Rapid Set Concrete making sure that it is evenly distributed around the post of the clothesline.
Check and re-check that the post is exactly vertical otherwise your finished clothesline will not be level.
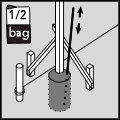
Tamp the product around the post using a rod to remove any air pockets. Add the remaining half bag of product and tamp again. Add small amounts of water only if required to ensure that the mix is completely moistened. Should you need more concrete for the hole, immediately repeat the process with another bag.
Tamping is essential to remove air pockets and achieve a solidly set clothesline every time.
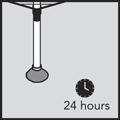
The product will harden initially in 15 minutes. Allow the Rapid Set Concrete to harden for at least 1 hour before removing the bracing supports. It is recommended to wait for 24 hours before use of the clothesline.
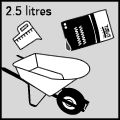
In a non-porous vessel, such as a wheelbarrow, add the Concrete Mix no more than 2 bags at a time. Add exactly the amount of clean water instructed on the back of the packaging per bag of Concrete Mix and mix thoroughly remembering that excess water ruins good concrete.
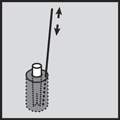
Position your ground socket in the centre of the hole pushing it into the gravel slightly, ensuring that it is set to the correct depth based on the installation instructions from your Clothesline manufacturer. Place the correct amount of the mixed concrete to the hole, filling the hole to the level recommended in the installation instructions. Tamp the product around the ground socket using a rod to remove any air pockets. Should you need more concrete for the hole, immediately repeat the process with another bag.
Check and re-check that the post is exactly vertical otherwise your finished clothesline will not be level.
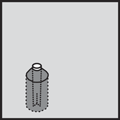
Heap the surface of the concrete to create a rounded crown around the ground socket so any surface water flows away from the clothesline post.
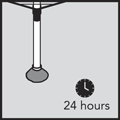
Allow the concrete to harden for a minimum of 24 hours before removing any bracing supports and installing the top part into the ground socket for the rotary style clotheslines.
Allow the concrete to harden for at least 7 days before loading the clothesline with heavy wet washing.
If using Extra Strength Concrete Mix, clothesline can be used in half the time.